Getting™ Started | Ledger® Live: Desktop® — official (EN-us)
Ledger® Live is the official desktop application that allows you to manage your Ledger hardware wallet securely, monitor your cryptocurrency portfolio, and perform transactions with ease. This guide will walk you through setting up Ledger Live on your desktop, exploring its features, and ensuring maximum security for your crypto assets.
Table of Contents
- Introduction to Ledger® Live Desktop
- System Requirements
- Downloading and Installing Ledger Live
- Setting Up Your Ledger Device
- Creating or Importing a Wallet
- Navigating the Ledger Live Interface
- Managing Your Portfolio
- Sending and Receiving Crypto
- Updating Firmware and App Management
- Security Best Practices
- Troubleshooting Common Issues
- Additional Resources and Support
<a name="introduction"></a>1. Introduction to Ledger® Live Desktop
Ledger® Live is designed to give cryptocurrency users complete control over their digital assets without relying on third-party platforms. It supports multiple cryptocurrencies, provides real-time portfolio tracking, and ensures transactions are signed securely with your Ledger device.
Interlinking suggestion: Link to a page titled “Ledger® Live vs. Mobile App: Choosing the Right Option” to guide users considering different platforms.
Ledger Live also integrates Ledger Staking and Swap services, making it a comprehensive platform for crypto management.
<a name="system-requirements"></a>2. System Requirements
Before installing Ledger Live, ensure your system meets the following requirements:
For Windows:
- Windows 10 or higher
- Minimum 4GB RAM
- 150MB free disk space
For macOS:
- macOS 10.13 or higher
- Minimum 4GB RAM
- 150MB free disk space
For Linux:
- Ubuntu 18.04+ or compatible distributions
- 4GB RAM
- 150MB free disk space
Browser: Ledger Live communicates via USB or Bluetooth with your Ledger device. Make sure your browser supports Ledger if using web-based interactions.
Interlinking suggestion: Link to “Ledger Hardware Wallet Compatibility Guide” for users unsure if their device is supported.
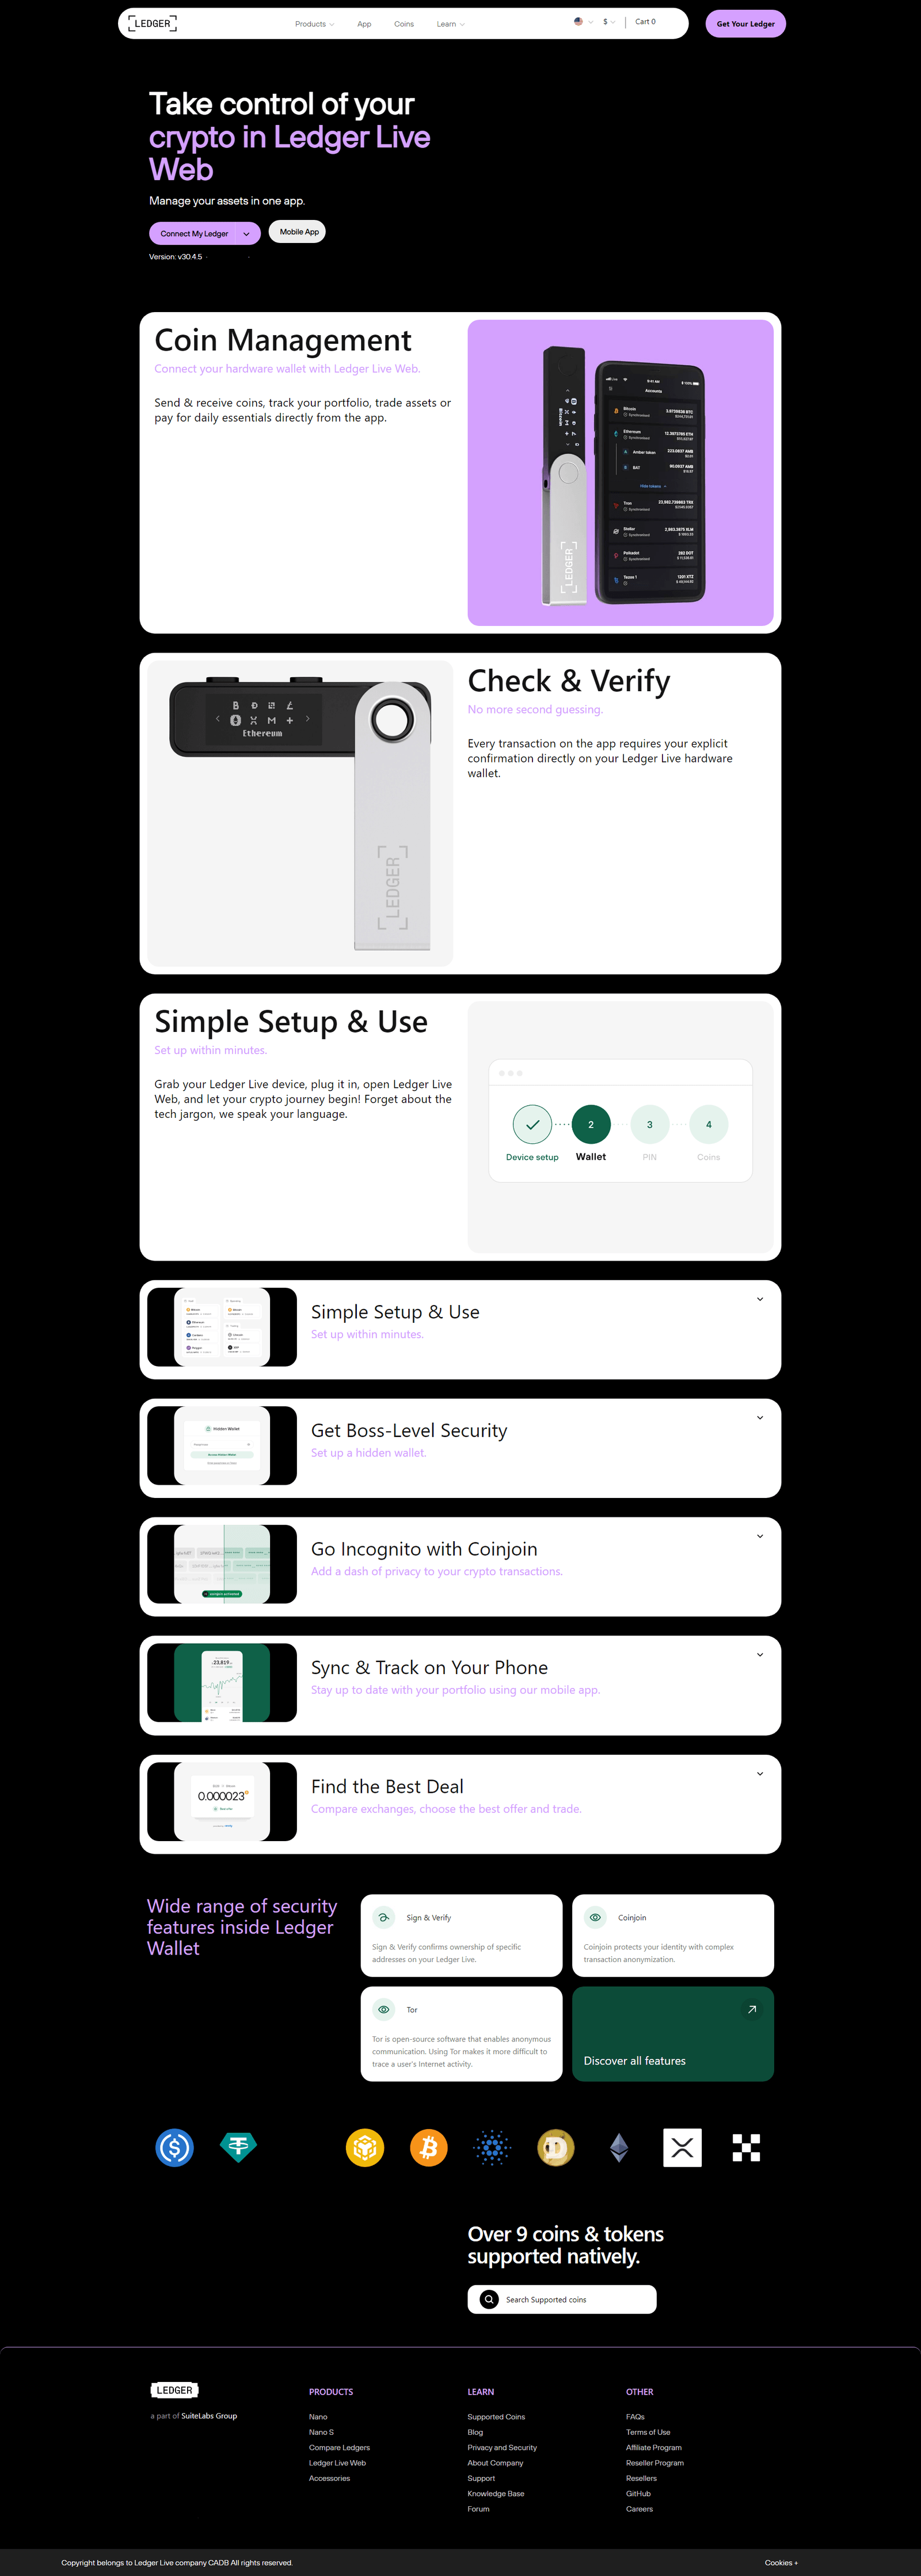
<a name="download-install"></a>3. Downloading and Installing Ledger Live
- Visit the Official Ledger Website: Navigate to Ledger.com to download the desktop version.
- Select Your OS: Choose Windows, macOS, or Linux.
- Install Ledger Live: Open the installer and follow on-screen instructions.
- Launch the App: Once installed, open Ledger Live and follow the setup prompts.
Interlinking suggestion: Link to “Ledger Live Desktop vs Mobile Installation Guide” for users comparing setup options.
<a name="setup-device"></a>4. Setting Up Your Ledger Device
Ledger hardware wallets, like the Ledger Nano S Plus and Ledger Nano X, require initial configuration before connecting to Ledger Live:
- Power on the Device: Connect via USB or Bluetooth.
- Set a PIN Code: Choose a secure PIN (do not reuse old codes).
- Backup Your Recovery Phrase: Write down the 24-word recovery phrase carefully. This is critical for asset recovery.
Security Tip: Never store your recovery phrase digitally or online. Use a safe offline location.
Interlinking suggestion: Link to “How to Secure Your Ledger Recovery Phrase” for detailed guidance.
<a name="wallet-setup"></a>5. Creating or Importing a Wallet
Once the device is set up, Ledger Live allows you to either create a new wallet or import an existing one:
- Create New Wallet: Generates fresh addresses on your Ledger device.
- Import Existing Wallet: Restore a wallet using the 24-word recovery phrase.
Ledger Live automatically detects supported cryptocurrencies and prompts you to install the required apps.
Interlinking suggestion: Link to “Step-by-Step Guide to Importing Existing Wallets” for users migrating from other devices.
<a name="interface"></a>6. Navigating the Ledger Live Interface
Ledger Live Desktop is organized into key sections:
- Dashboard: Overview of all assets, including total portfolio value.
- Accounts: Individual cryptocurrency wallets.
- Send/Receive: Quick access to transactions.
- Manager: Install or update apps on your Ledger device.
- Buy/Sell/Swap: Integrated services for crypto transactions.
- Settings: Security, device management, and preferences.
Pro Tip: Use the search bar in Ledger Live to quickly locate specific accounts or features.
Interlinking suggestion: Link to “Ledger Live User Interface Deep Dive” for a visual walkthrough.
<a name="portfolio"></a>7. Managing Your Portfolio
Ledger Live provides a real-time snapshot of your holdings:
- Track balances for all supported cryptocurrencies.
- Monitor price trends, market capitalization, and performance charts.
- Add custom tokens if not automatically detected.
Pro Tip: Enable portfolio notifications to receive updates on market changes.
Interlinking suggestion: Link to “Ledger Live Portfolio Optimization Tips”.
<a name="send-receive"></a>8. Sending and Receiving Crypto
Receiving Crypto:
- Select the account.
- Click “Receive” and verify the address on your Ledger device.
- Share the address with the sender.
Sending Crypto:
- Select the account and click “Send.”
- Enter the recipient address and amount.
- Confirm on your Ledger device to finalize the transaction.
Security Tip: Always verify addresses on your device screen, not just in Ledger Live.
Interlinking suggestion: Link to “Ledger Live Transaction Security Guide”.
<a name="firmware-update"></a>9. Updating Firmware and App Management
Ledger devices require regular firmware updates to ensure security and compatibility:
- Open Ledger Live and go to Manager.
- Connect your device.
- Follow prompts to update firmware or install new cryptocurrency apps.
Interlinking suggestion: Link to “Ledger Firmware Update Troubleshooting” for detailed steps.
<a name="security"></a>10. Security Best Practices
Protecting your Ledger wallet is crucial:
- Never share your recovery phrase.
- Enable passphrase protection in Ledger Live.
- Verify all transactions on your device.
- Regularly update Ledger Live and firmware.
Advanced Tip: Consider using a Ledger Nano X with Bluetooth only for trusted devices to avoid unnecessary exposure.
Interlinking suggestion: Link to “Advanced Ledger Security Measures”.
<a name="troubleshooting"></a>11. Troubleshooting Common Issues
Common issues include:
- Ledger device not recognized.
- Failed firmware update.
- Missing accounts in Ledger Live.
Solution Tips:
- Restart your computer and Ledger device.
- Ensure Ledger Live is updated.
- Reinstall apps using the Manager section.
Interlinking suggestion: Link to “Ledger Live Troubleshooting FAQs”.
<a name="resources"></a>12. Additional Resources and Support
Ledger provides multiple resources for assistance:
- Official Support: Ledger Help Center
- Community Forums: Connect with other users.
- Knowledge Base Articles: Step-by-step tutorials and guides.
Recommended Internal Links:
✅ Conclusion
Ledger® Live Desktop is a powerful, secure, and versatile tool for managing your cryptocurrency portfolio. By following this guide, you can set up your device, manage accounts, perform transactions, and protect your assets efficiently. The interlinking resources ensure that you have comprehensive support at every stage.