Ledger.com/Start® | Official Site | Getting Started
Welcome to Ledger.com/Start, your official gateway to setting up your Ledger hardware wallet and securing your digital assets. Whether you are brand‑new to cryptocurrency or upgrading your security, this guide gives you everything you need—from unboxing to first transactions—organized clearly and with smart internal links to help you explore related content.
1. What Is Ledger.com/Start?
Ledger.com/Start is the official onboarding page created by Ledger—the leading provider of hardware wallets. This page walks users through setting up their Ledger device, installing software, understanding the fundamentals of self‑custody, and connecting with decentralized applications.
By following Ledger.com/Start, users bypass confusing forums and risky unofficial guides. The content here links to Ledger’s full documentation and support resources, helping you explore deeper topics like:
- Ledger Nano X vs Nano S Comparison – see differences and choose the right model
- Security Best Practices – learn why hardware wallets matter
Every section below references internal Ledger.com links that guide users to advanced resources without leaving the ecosystem.
2. Why Choose Ledger Hardware Wallets?
Before we begin, it’s important to understand why hardware wallets matter. Unlike software wallets that are constantly online, Ledger devices store your private keys offline, making them highly resistant to hacks.
Security Advantages
- Cold storage — Keys never leave the device
- PIN protection — prevents unauthorized use
- Secure Element chip — advanced hardware security
- Recovery phrase — backup in case you lose your device
➡️ Learn more about how Ledger protects your assets in our Security Principles page.
➡️ Compare models on our Ledger Products Comparison page.
3. What You’ll Need Before You Begin
Before you use Ledger.com/Start, gather the essentials:
- Your Ledger device (Nano S, Nano S Plus, or Nano X)
- A computer or mobile device with USB connectivity or Bluetooth
- A stable internet connection
- A quiet, secure space to write down your recovery phrase
⚠️ Always use the official Ledger.com website and never share your 24‑word recovery phrase with anyone.
4. Unboxing Your Ledger Device
When your Ledger hardware wallet arrives, the contents should include:
- Ledger device (Nano X or Nano S series)
- USB cable
- Instruction card
- Recovery sheet
- Packaging with anti‑tamper seals
Check for any signs of tampering. If anything looks unusual, contact Ledger Support immediately.
➡️ For unboxing visuals, see our Unboxing and First Look guide.
5. Step‑by‑Step Setup at Ledger.com/Start
Now that your device is ready, let’s walk through the official setup:
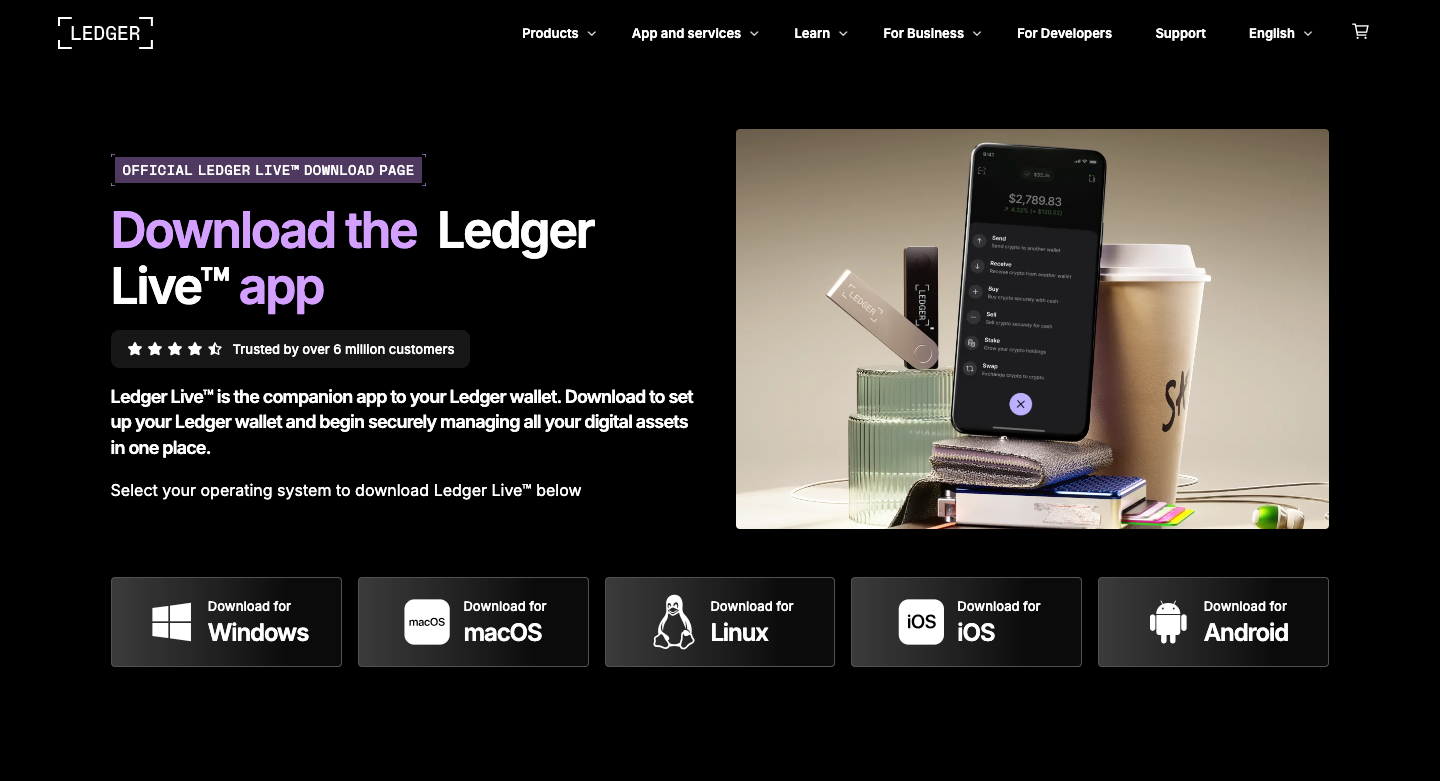
Step 1: Go to Ledger.com/Start
Visit https://www.ledger.com/start and choose your device model.
Tip: Always type the URL manually to avoid phishing sites.
Step 2: Download Ledger Live
Ledger Live is the companion app for managing your assets.
➡️ Download from the official Ledger Live page.
Install Ledger Live on your computer or mobile device.
Step 3: Initialize Your Device
- Power on your Ledger
- Select a PIN code
- Write down your 24‑word recovery phrase
This phrase is your ultimate backup—store it offline and secure.
➡️ Learn more about safe storage in our Recovery Phrase Guide.
Never take a screenshot or store it digitally.
Step 4: Connect Your Ledger to Ledger Live
- Open Ledger Live
- Follow the on‑screen instructions to connect your device
- Confirm actions directly on the hardware wallet
Once connected, Ledger Live will install essential apps (e.g., Bitcoin, Ethereum).
6. Installing Cryptocurrency Apps
Ledger Live supports dozens of coins and tokens. In the App Catalog you can:
- Install apps for Bitcoin, Ethereum, Solana, and more
- Add multiple wallets in one device
- Manage tokens using dedicated apps
➡️ Explore supported assets on the Ledger Supported Cryptocurrencies list.
Each app adds support for a specific blockchain.
7. Receiving Cryptocurrency
Now that your device is ready:
- Go to Receive in Ledger Live
- Choose the asset you want to receive
- Verify the address exactly on your Ledger device
- Share the address with the sender
Always double‑check the wallet address on the Ledger device display—not just on the computer screen.
➡️ See detailed steps on our Receiving Crypto Guide.
8. Sending Cryptocurrency
Sending crypto requires:
- Selecting Send in Ledger Live
- Entering the recipient’s address
- Confirming the transaction on your Ledger device
Security tip: never enter private information on untrusted networks.
➡️ For best practices, see our Sending Crypto Safely Guide.
9. Using Decentralized Apps (dApps)
With Ledger Live and supported apps, you can connect your wallet to decentralized ecosystems like:
- DeFi platforms
- NFT marketplaces
- Decentralized exchanges (DEXs)
To use dApps:
- Open the relevant wallet app (e.g., Ethereum) on Ledger Live
- Connect via supported interfaces like WalletConnect or browser extensions
- Approve transactions on your device for maximum security
➡️ More on DeFi and Ledger integration in our dApp Connection Guide.
10. Recovery and Safety Tips
Your 24‑word recovery phrase is the most critical piece of information. Follow these precautions:
Do Not:
- Store it digitally (notes, images, cloud storage)
- Share it with anyone
- Enter it on unverified websites or apps
Do:
- Write it down on a metal backup plate for fire/water resistance
- Keep it in a secure safe or deposit box
- Use official Ledger recovery accessories
➡️ Learn advanced recovery strategies in our Recovery Best Practices page.
11. Troubleshooting Common Problems
Even with a smooth setup, users may encounter:
- Devices not connecting
- PIN code locked after errors
- App not installing properly
First steps for troubleshooting:
- Update Ledger Live & device firmware
- Restart your computer or mobile device
- Try a different USB cable or Bluetooth connection
- Consult official support
➡️ Visit our Ledger Troubleshooting Center.
12. Firmware Updates and Safety
Ledger periodically releases firmware updates to improve functionality and security.
To update:
- Open Ledger Live
- Go to Manager
- Follow the update prompt
Updates often include:
- Bug fixes
- New coin support
- Enhanced protection layers
➡️ For detailed instructions, see How to Update Ledger Firmware.
13. Ledger Advanced Features
Once you’re comfortable with basic transactions, explore powerful features:
Staking Cryptocurrencies
Stake assets like Tezos or Solana to earn rewards.
➡️ Learn how to stake in our Staking Guide.
NFT Management
View and manage NFTs securely via Ledger Live.
➡️ See our NFT Setup Guide.
Third‑Party Wallet Integrations
Connect Ledger with:
- MetaMask
- Coinbase Wallet
- WalletConnect
➡️ Integration details at Third‑Party Wallet Guide.
14. Glossary of Key Terms
| Term | Meaning |
|---|---|
| Private Key | A secret code allowing access to your crypto. |
| Recovery Phrase | 24 words used to recreate your wallet. |
| Cold Wallet | Offline storage for crypto. |
| Hot Wallet | Online wallet connected to the internet. |
| DeFi | Decentralized Finance platforms. |
15. Security Myths You Should Ignore
Myth: “Hot wallets are just as secure.”
Fact: Hot wallets are easier for hackers to reach.
Myth: “You can save the recovery phrase in a cloud note.”
Fact: Never store your phrase digitally.
Myth: “All USB cables are the same.”
Fact: Damage to the cable may cause connectivity or security issues.
➡️ See more myths debunked on our Crypto Security Myths page.
16. Conclusion & Next Steps
Starting with Ledger using Ledger.com/Start gives you a clear, secure, and trustworthy roadmap—from unboxing to using DeFi applications. This guide also connects you to deeper resources so you can grow confidently in the world of crypto.
Your Action Plan
- Visit https://www.ledger.com/start
- Set up Ledger Live
- Secure your recovery phrase
- Add assets and explore dApps
- Use internal links above to explore every topic in detail
🚀 Ready to begin? Start here: https://www.ledger.com/start